
How to take progress photos you can actually compare
Give yourself a repeatable setup for progress photos, from where you put your phone to what you check when you open two dates side by side.
BarbellPin ·
Imagine Mark spending his Saturday morning looking for a photo of the bookcase he wants to sell. He finds one from January, taken from the doorway, and another from last weekend, shot up close with the phone tilted. The first makes the bookcase look short and wide. In the second it looks taller than the door. The tape measure is still on the table. He checks again. The bookcase is exactly the same height in both pictures.
The next swipe brings up a progress photo he took after coming home from the gym. There’s another front-facing shot from a few weeks earlier. He puts them next to each other. The rug is visible in one, but in the other he held the phone near eye level and cut off the floor. He can’t remember where he was standing either time. If he wants to look back in a couple of months, he’d like to spend that time looking at the photos instead of working out how he took them.
Set up the shot once and leave yourself a clue
Pick somewhere you can put your phone at the same height each time. A tripod is handy if you already have one. A shelf or a stable surface can do the job too. Mark uses a shelf in the hall that he hardly ever moves and lines up his feet with a seam in the floor. In the test shot he can see the edge of the door and a line on the wall. Both give him something to look for when he sets up again.
Use the same camera and zoom setting when you can. Moving the phone closer changes the view. Cropping a photo taken from farther away can give you the same amount of space around the subject while still leaving you with a different perspective. A short note does more for Mark than trying to remember the right crop. He writes “hall shelf, feet at the floor seam, camera at 1×.” If he ever has to clear the shelf for something else, he’ll still know where the phone goes.
Check where the light is coming from as well. Late in the day the sun comes in from the side in Mark’s hall and leaves half the frame in shadow. He tries the lamp he uses in the morning and finds a setup he can repeat even when the weather changes. You can test this with the phone in one place and two pictures taken a minute apart. Turn the lamp on for one and off for the other. Looking at the wall and the shadows will tell you whether the difference is worth a line in your note.
Keep at least one view in common
Start with the view you’re most likely to repeat. If it’s a front shot, take another from the front with the phone facing the same way. Side and back views can be useful too. Say you have time for just one picture on the second date. Pick a view from the first date and you’ll already have a pair you can open together.
Small changes in posture are easy to miss while you’re taking the picture. In one test shot Mark has a foot forward and is still turning back from the phone after setting the timer. He gives himself a few more seconds, finds the seam in the floor and lets the phone take the picture while he’s standing in place. The first shot shows him what happened. The second gives him a position he can find again.
If you change phones, move house or lose access to your usual spot, save a reference shot with the new setup. Keep the earlier pictures with their original dates. You can still look at them and see where the series taken under the new conditions begins. A quick note like “same shelf, lamp off” is useful when one thing changes. Mark also keeps his test photo with the edge of the rug in it. A month later, that detail is easier to use than the number of inches from the door.
Check the background before you compare two dates
Look at a couple of things that stayed put. If the doorway takes up a lot more of one shot, check the framing and distance. If shadows run in different directions, think about the light. If you can see more of one shoulder because the front shot was taken from the side, try another image from the same date. Sometimes the pair you need will be the one you take next time, when you know where to stand.
Ask what you want to remember about that stretch of time. A photo gives you a view of a moment. To find out which workouts you did, or how often you got to the gym, open your workout history. You can look at both in the same sitting and use each to answer its own question.
Take a glance around the room before the first shot too. Mark moves an envelope with his address out of the frame. When he comes back the next month, he’ll have one fewer thing to crop. If you’re somewhere other people could walk through the background, a quieter spot can make the picture easier to keep and repeat.
Save and compare photo sessions in BarbellPin
On your phone, go to Progress → Progress photos. With Premium, you can use Add photos to create a dated session and add views from your camera or gallery. When you have two sessions, tap Compare, select both and tap Compare these sessions. The app opens a view that appears in both sessions. If you only have a side photo on one date and a front photo on the other, add a matching view before trying again. Progress photos stay in their own section and aren’t automatically posted to Community.
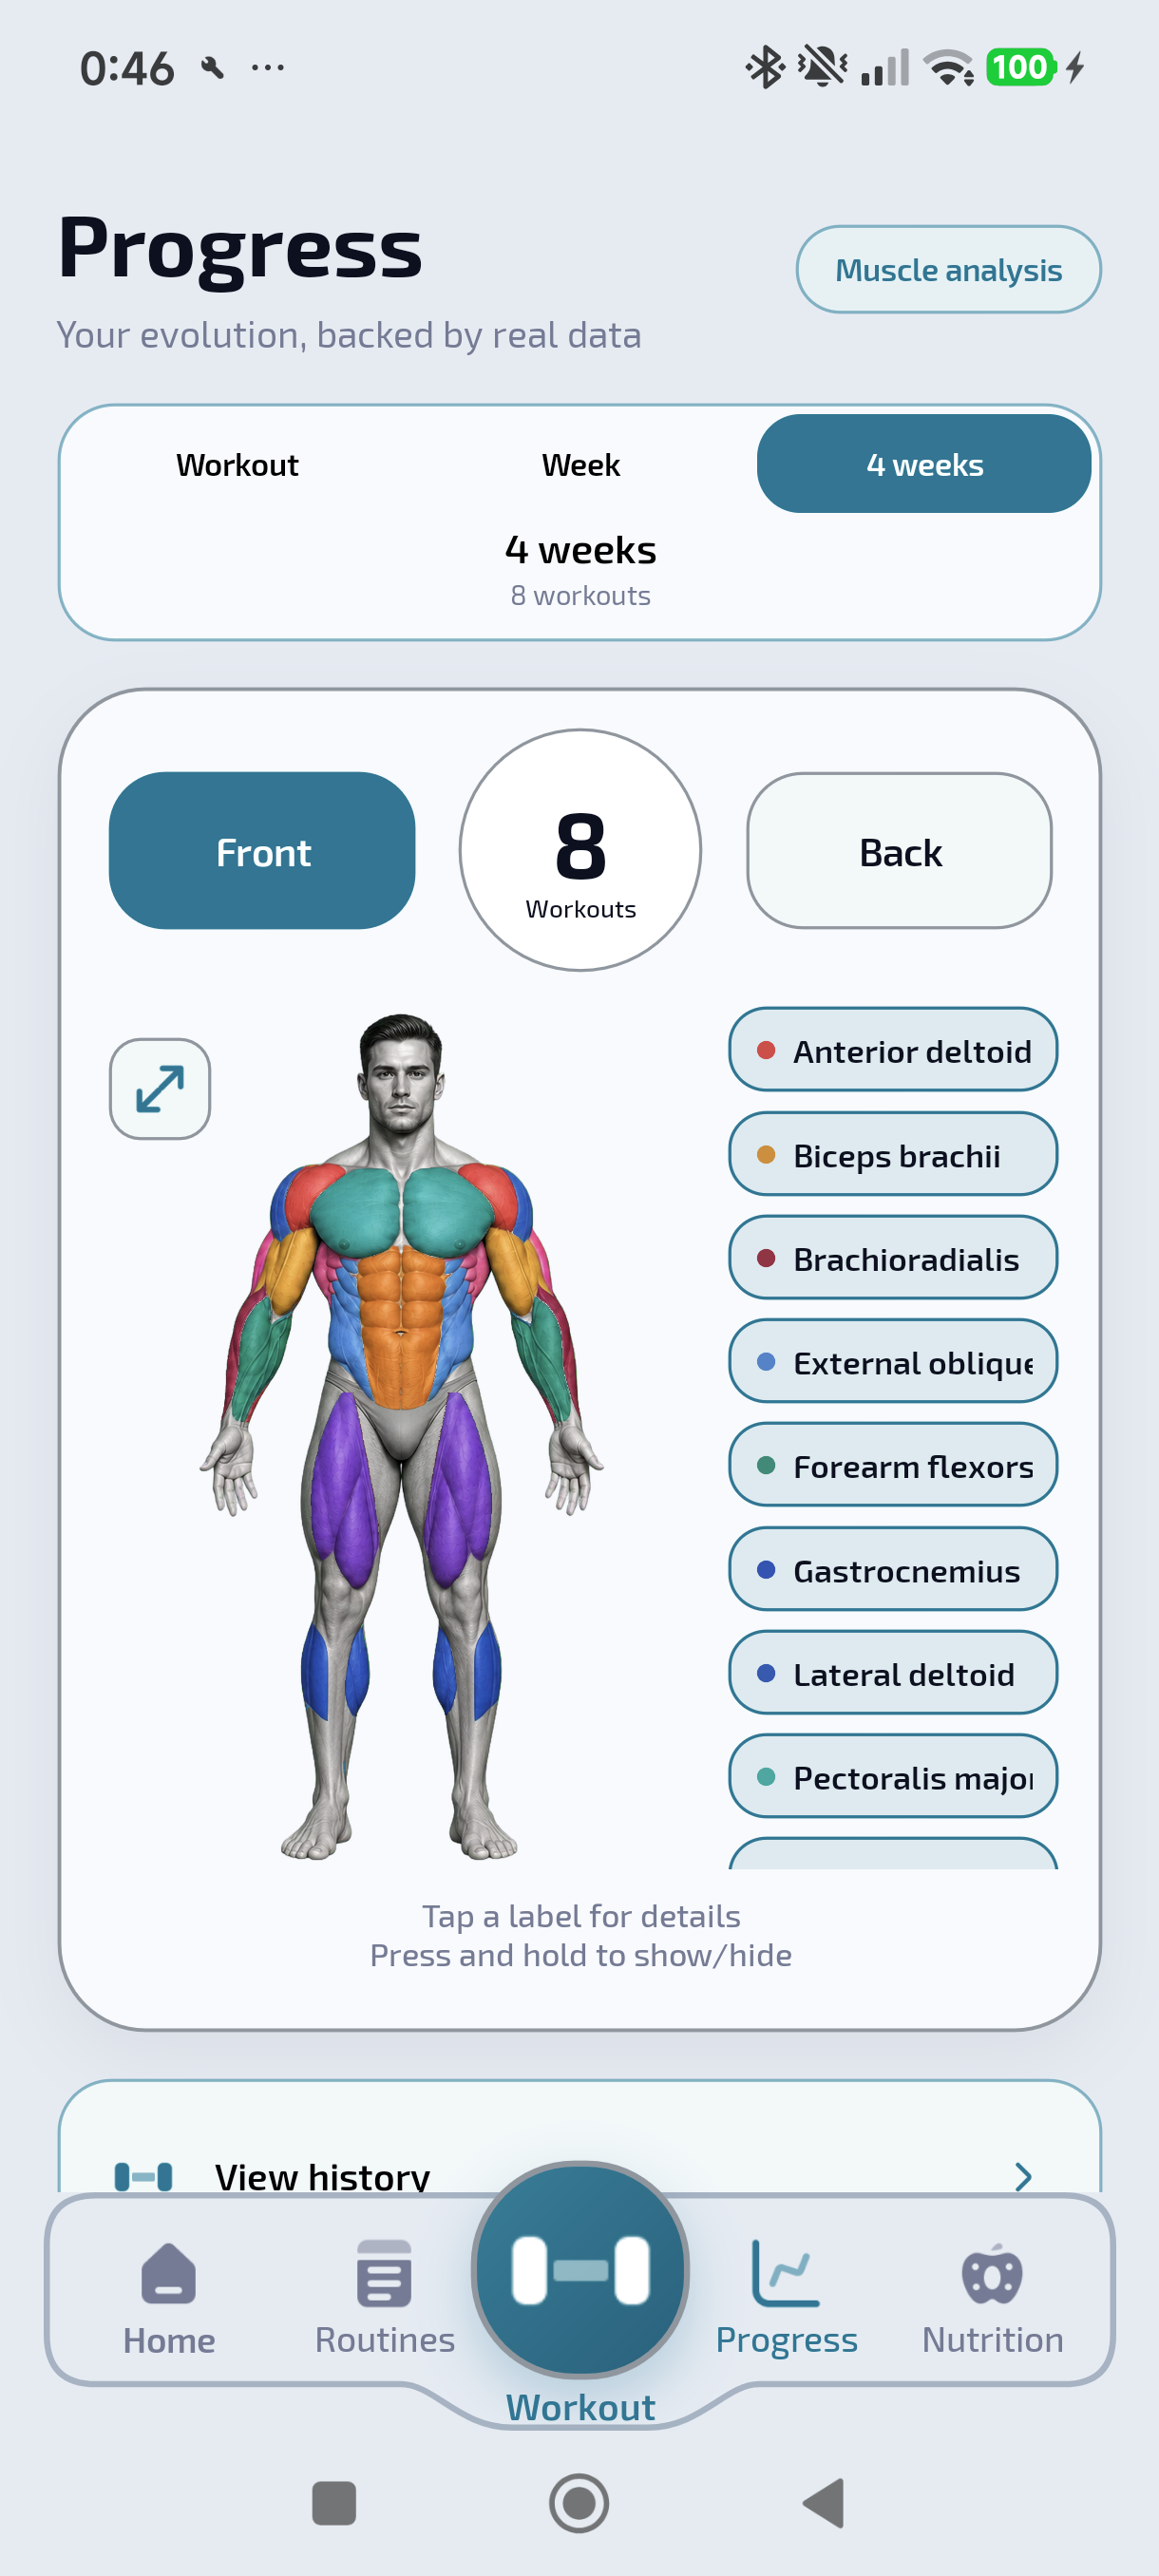
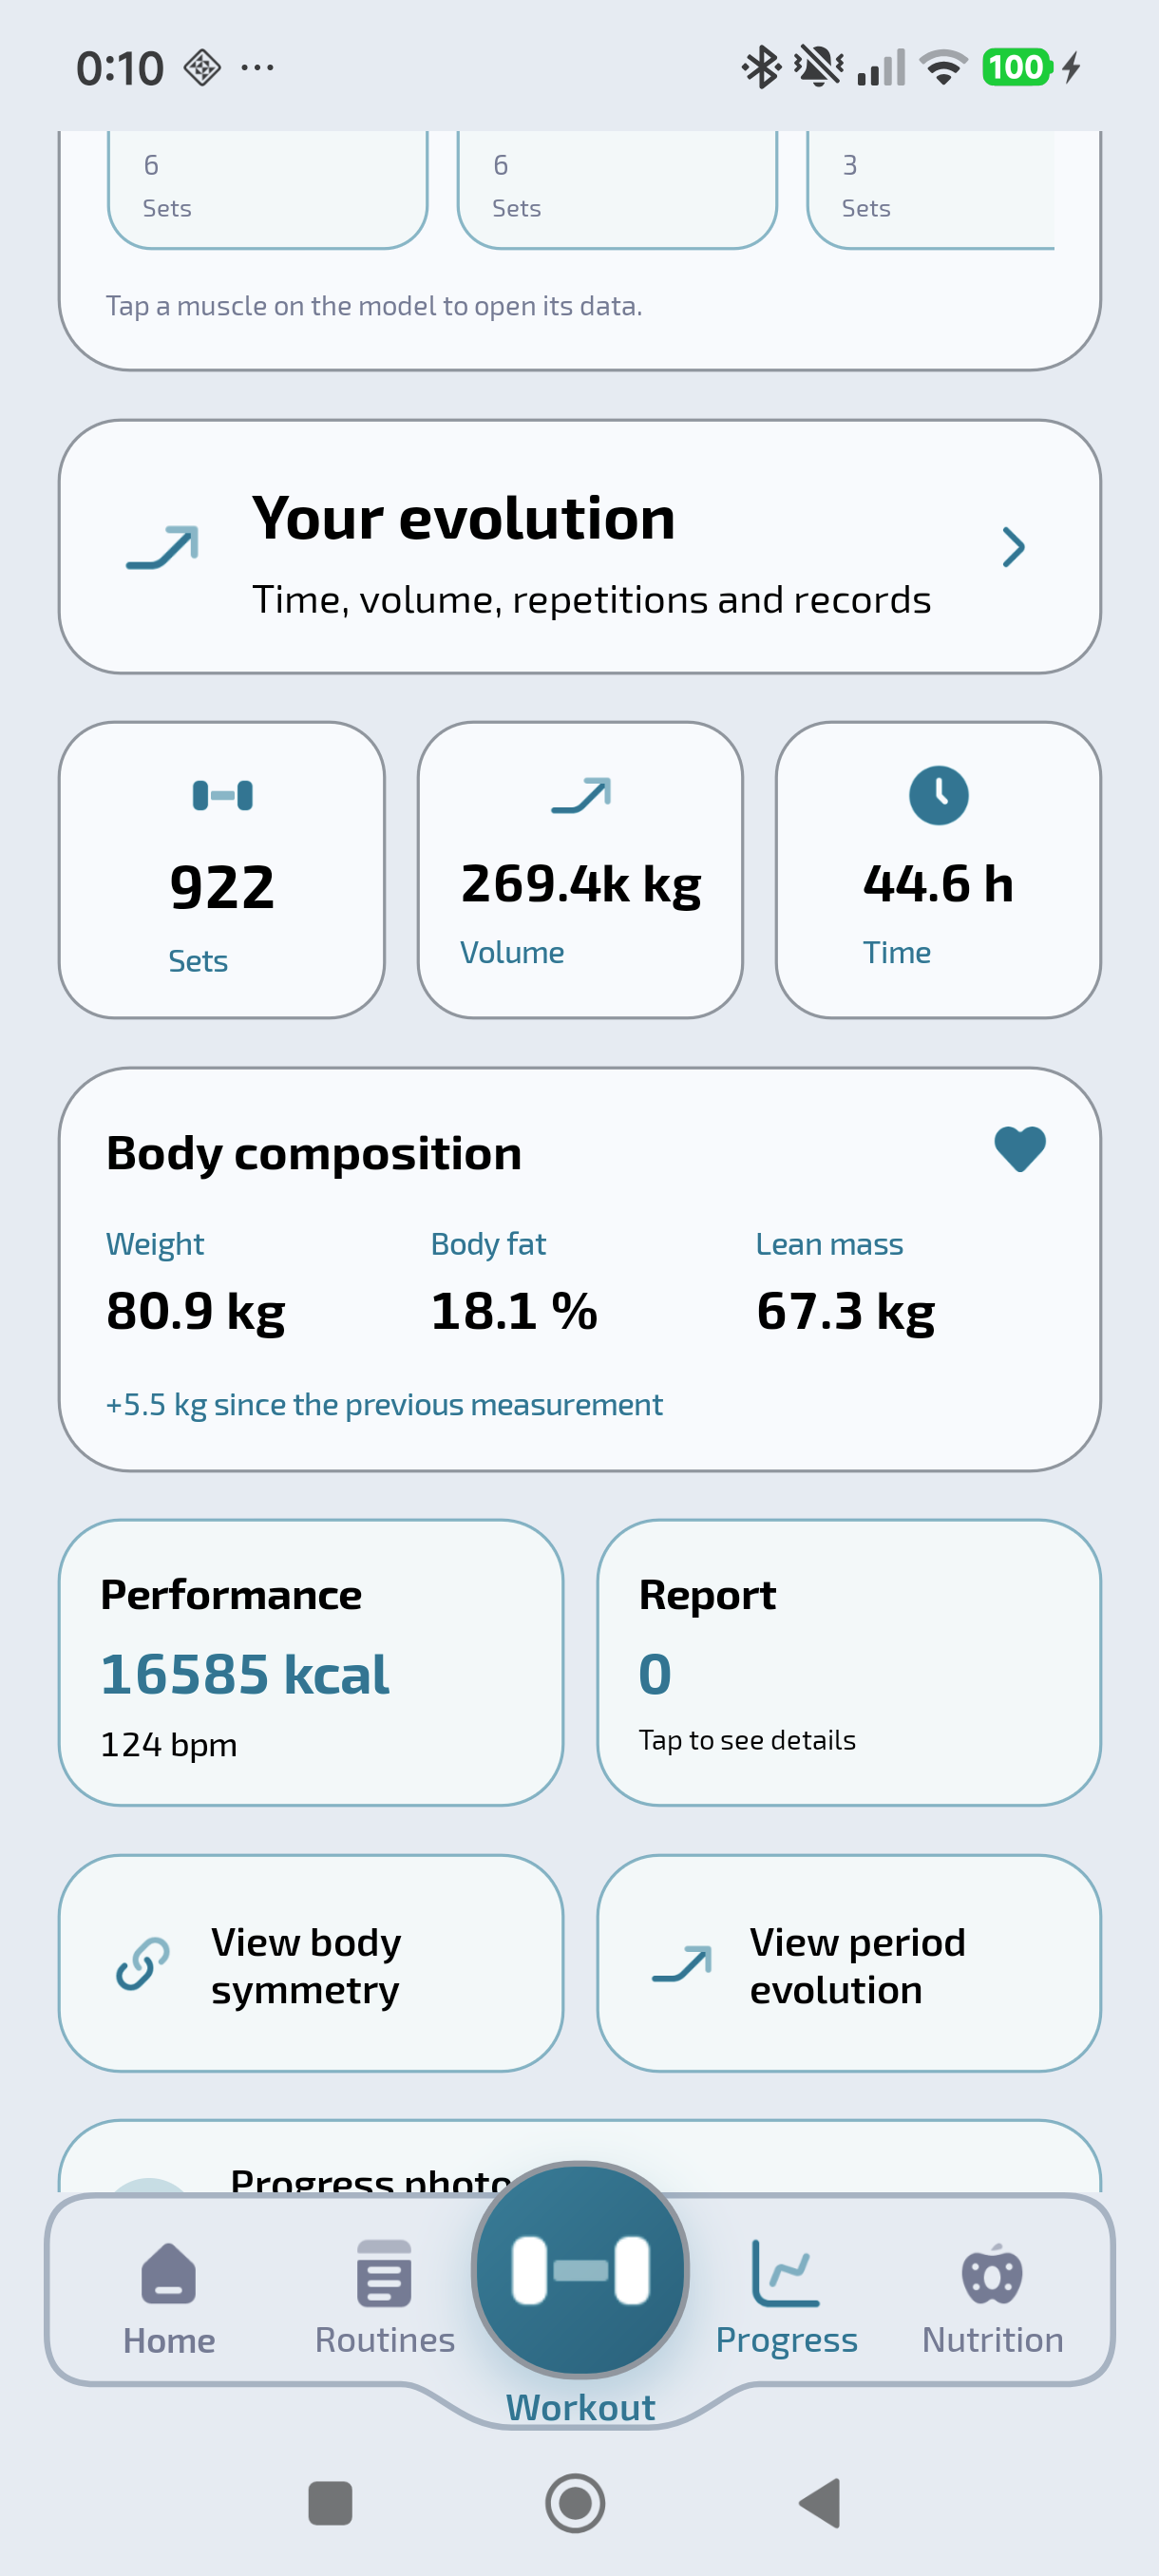
If you want to see what you trained between those dates, check your history or look at the sets, volume and time from your logged workouts in the progress summary. The photos give you another way to remember that period.
Mark puts the measurements in his bookcase listing. For his own pictures, he keeps the note about the shelf and floor seam. Next time he knows where to put the phone. For the steps to save and open a pair of dated sessions, see the photo sessions and comparison guide.
Download BarbellPin